Webmasters Tools of Google is a set of useful utilities that allow you to control a lot of elements of your website and among them, specialy the reading of the list of your pages through the sitemap.xml file. It is really a fantastic tool for your SEO so I’m sure that you want to connect with it. For connecting your site with an specific Webmaster Tools account, google offers you several methods but, perhaps the easiest is the addition of an HTML meta tag in the HTML <head> of your pages containing the google-site-verification code. Today we’ll see a method for adding automatically this google-site-verification code in a theme and for extension, for adding any API codes, third party parameters, etc.
In fact, every day is more common to use APIs to access from your web to services offered by outside webs so I do really suppose you want to use easily the associated codes to all these APIs in your Themes. Of course, if you has got just an standalone installation of WordPress, do not take any complicated method, forget this article 🙂 and simply edit the header.php file of your theme and put the line(s) with the your code(s) inside the HEAD. Something like this:
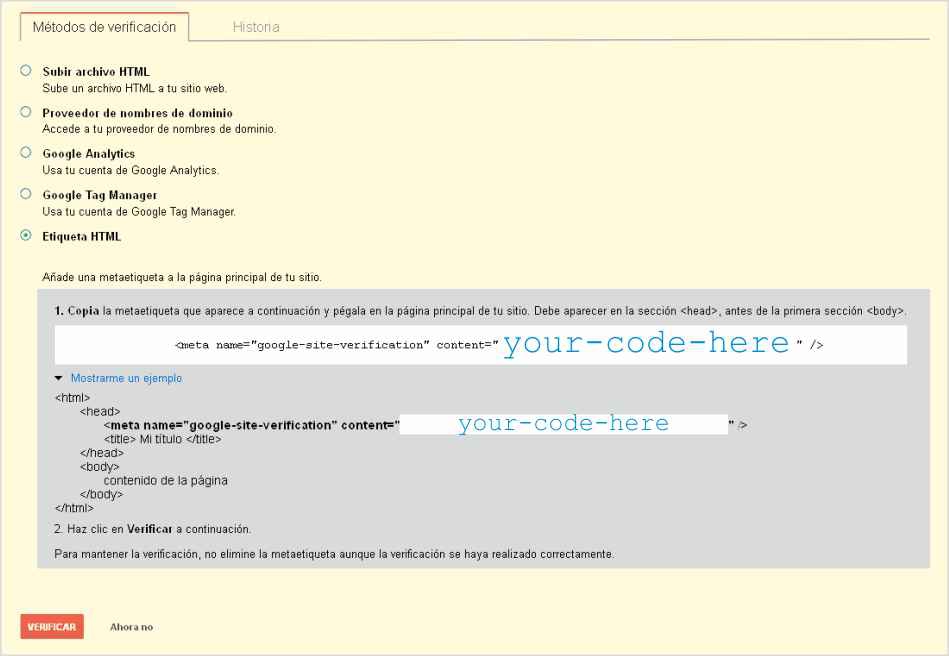
<meta name="google-site-verification" content="HERE-YOUR-CODE-THAT-USUALLY-IS-VERY-LONG">
But if you are developing or improving your theme, if you have several WordPress installations, if you have a lot of APIS or similars, you should think in adding a field to your Customizer for introducing this google-site-verification code (and the others) for each installation and thus, to make the theme truly independent of the site. In that case, you need follow these three steps.
- To create a new field for customizer (and probably, a new section and a new panel for putting this field inside).
- To connect the value of this field with your theme.
- To inform your theme that it outputs this value in the
<head>element of the pages.
So, let’s go with these steps.
Creating a new field for customizer
For creating a new field for customizer, in fact, you just need to create a new text field for introducing the code and then to add this field to any of existing sections or panels of customizer but, in this example, we’ll make the three parts, constructing the panel, the section and finally the field through this code.
<?php
function createApisInterface ( $wp_customize ) {

    // Panel
    $wp_customize->add_panel(
        'APIS_panel',
        array(
            'priority'       => 300,  // we put this panel (for example) at the end of the list of the former panels
            'capability'     => 'edit_theme_options',
            'theme_supports' => '',
            'title'          => __( "API's codes", 'your-text-domain' ),
            'description'    => __( "The APIs codes and parameters for third party external services.', 'your-text-domain' ),
        )
    );

    // Section
    $wp_customize->add_section(
        'google_APIS_section',
        array(
            'title'           => __( "Google APIs Codes", 'your-text-domain' ),
            'priority'        => 10, // we put in the first position of the list of sections,
            'description'     => __( "The APIs codes and parameters for the Google services.', 'your-text-domain' ),
            'active_callback' => ''
        )
    );

    // Two parts for adding a field to customizer ( the setting and the control )

    // 1.- Setting
    $wp_customize->add_setting(
        'apis[google][site_verification]', // we create an array instead of individual parameters
	array(
	    'default' 		=> '',
	    'type' 		=> 'theme_mod',
	    'capability' 	=> 'edit_theme_options',
	    'theme_supports'	=> '',
	    'transport' 	=> 'postMessage',  //not rellevant but postMessage mode doesn't change the preview panel
	    'sanitize_callback'	=> '',
	    'sanitize_js_callback' => '',
	 )
    );
    // 2.- Control
    $wp_customize->add_control(
	'api_google_site_verification_field',
	array(
	    'label'    => __( 'Google Site Veritication Code', 'your-text-domain' ),
	    'section'  => 'google_APIS_section',
	    'settings' => 'apis[google][site_verification]', // we create an array instead of individual parameters
	    'type'     => 'text',
	)
    );

}
// and finaly we add this former function to the customizer_register action
add_action( 'customize_register', 'createApisInterface' );
?>
Extending the method for other APIs
The most relevant part of this example is that we don’t create individual parameters but we create an array of settings so that with just one get_theme_mod() function call, we can fetch all values for all apis and, in addition, it’s easier to extend because with the same function structure, if for example you would have to connect with the API of 500px, you can introduce something like that:
...

    // Section
    $wp_customize->add_section(
        'the500px_APIS_section',
        array(
            'title'           => __( "500px API Codes", 'your-text-domain' ),
            'priority'        => 20, // we put in the first position of the list of sections,
            'description'     => __( "The codes and parameters for the 500px service.', 'your-text-domain' ),
        )
    );

    $wp_customize->add_setting(
        'apis[the500px][secret_key]',  // we us the array of parameters
	array(
	    'type' 		=> 'theme_mod',
	    'capability' 	=> 'edit_theme_options',
	    'transport' 	=> 'postMessage',  //not rellevant but postMessage mode doesn't change the preview panel
	 )
    );

    $wp_customize->add_control(
	'api_500px_secret_key_field',
	array(
	    'label'    => __( '500px Secret Key', 'your-text-domain' ),
	    'section'  => 'the500px_APIS_section',
	    'settings' => 'apis[the500px][secret_key]', // we use the array of parameters
	    'type'     => 'text',
	)
    );
    // here more fields for 500px service

    ...
For a further information about this above section you should see the offical documentation of WP_Customize_Manager Class in the WordPress site.
Connecting these fields with your themes
The next step is how to fetch the value of all these fields inside our themes and for that, we’re going to use a function called get_theme_mod (See the complete documentaction of the function get_theme_mod). Normaly, we should have to do one call to this function for each parameter but in that case, as we have constructed this function around an array of values, we just need do single call and pass a simply parameter to the function.
<?php
$apis = get_theme_mod ( 'apis' );
print_r ( $apis );
?>
// The output of the last instruction would be more or less like
Array
(
    [google] => Array
        (
            [site_verification] => 'your-code-for-site-verification'
        )

    [the500px] => Array
        (
            [secret_key] => 'your-secret-key-for-500px'
            // ... more parameters
        )
)
In the previous example, the variable $apis contains all the parameters of all APIS and services, so it just necessary to use a couple of any keys of the array for accessing directly any parameter of any API.
<?php
$apiName = 'google';
$apiKey  = 'site_verification';
echo $apis[$apiName][$apiKey]; // outputs 'your-code-for-site-verification'
?>
Adding the google-site-verification code to your HTML head
Finally, the last step is to inform to your theme that when it’s outputting the head, in addition it be so kind for outputting your google-site-verification code too (or whatever another API code). For this last step, we can write a small function and attach it to the wp_head WordPress action (See complete documentation of wp_head action).
<?php
function render_site_verification_code () {
    $apis = get_theme_mod ( 'apis' );
    $code = $apis['google']['site_verification'];
    if ( ! empty( $code ) )
        echo '<meta name='google-site-verification' content="' . $code . '" >' . "\n";
}
// and we attach this function to the wp_head action
add_action ( 'wp_head', 'render_site_verification_code');
?>
From that moment, our theme will output an additional <meta> with the code for the Google Webmaster Tools.
Well, as always I say this is only a little example so you could use it in your theme with caution. Please, first check the syntax of the example and any other special requirement or feature of your WordPress Theme before using it.
Have a nice WordPressing!
[…] little change, the result is quiet useless but, if for example we use the technique described in the former article “How to add the google-site-verification code or other API parameters to your WordPress themes” for adding variables to WordPress Customizer, then we can convert the theAnalyticsValue into an […]